This post may contain affiliated links. I earn a small commission with absolutely NO cost to you. To read more, click here!
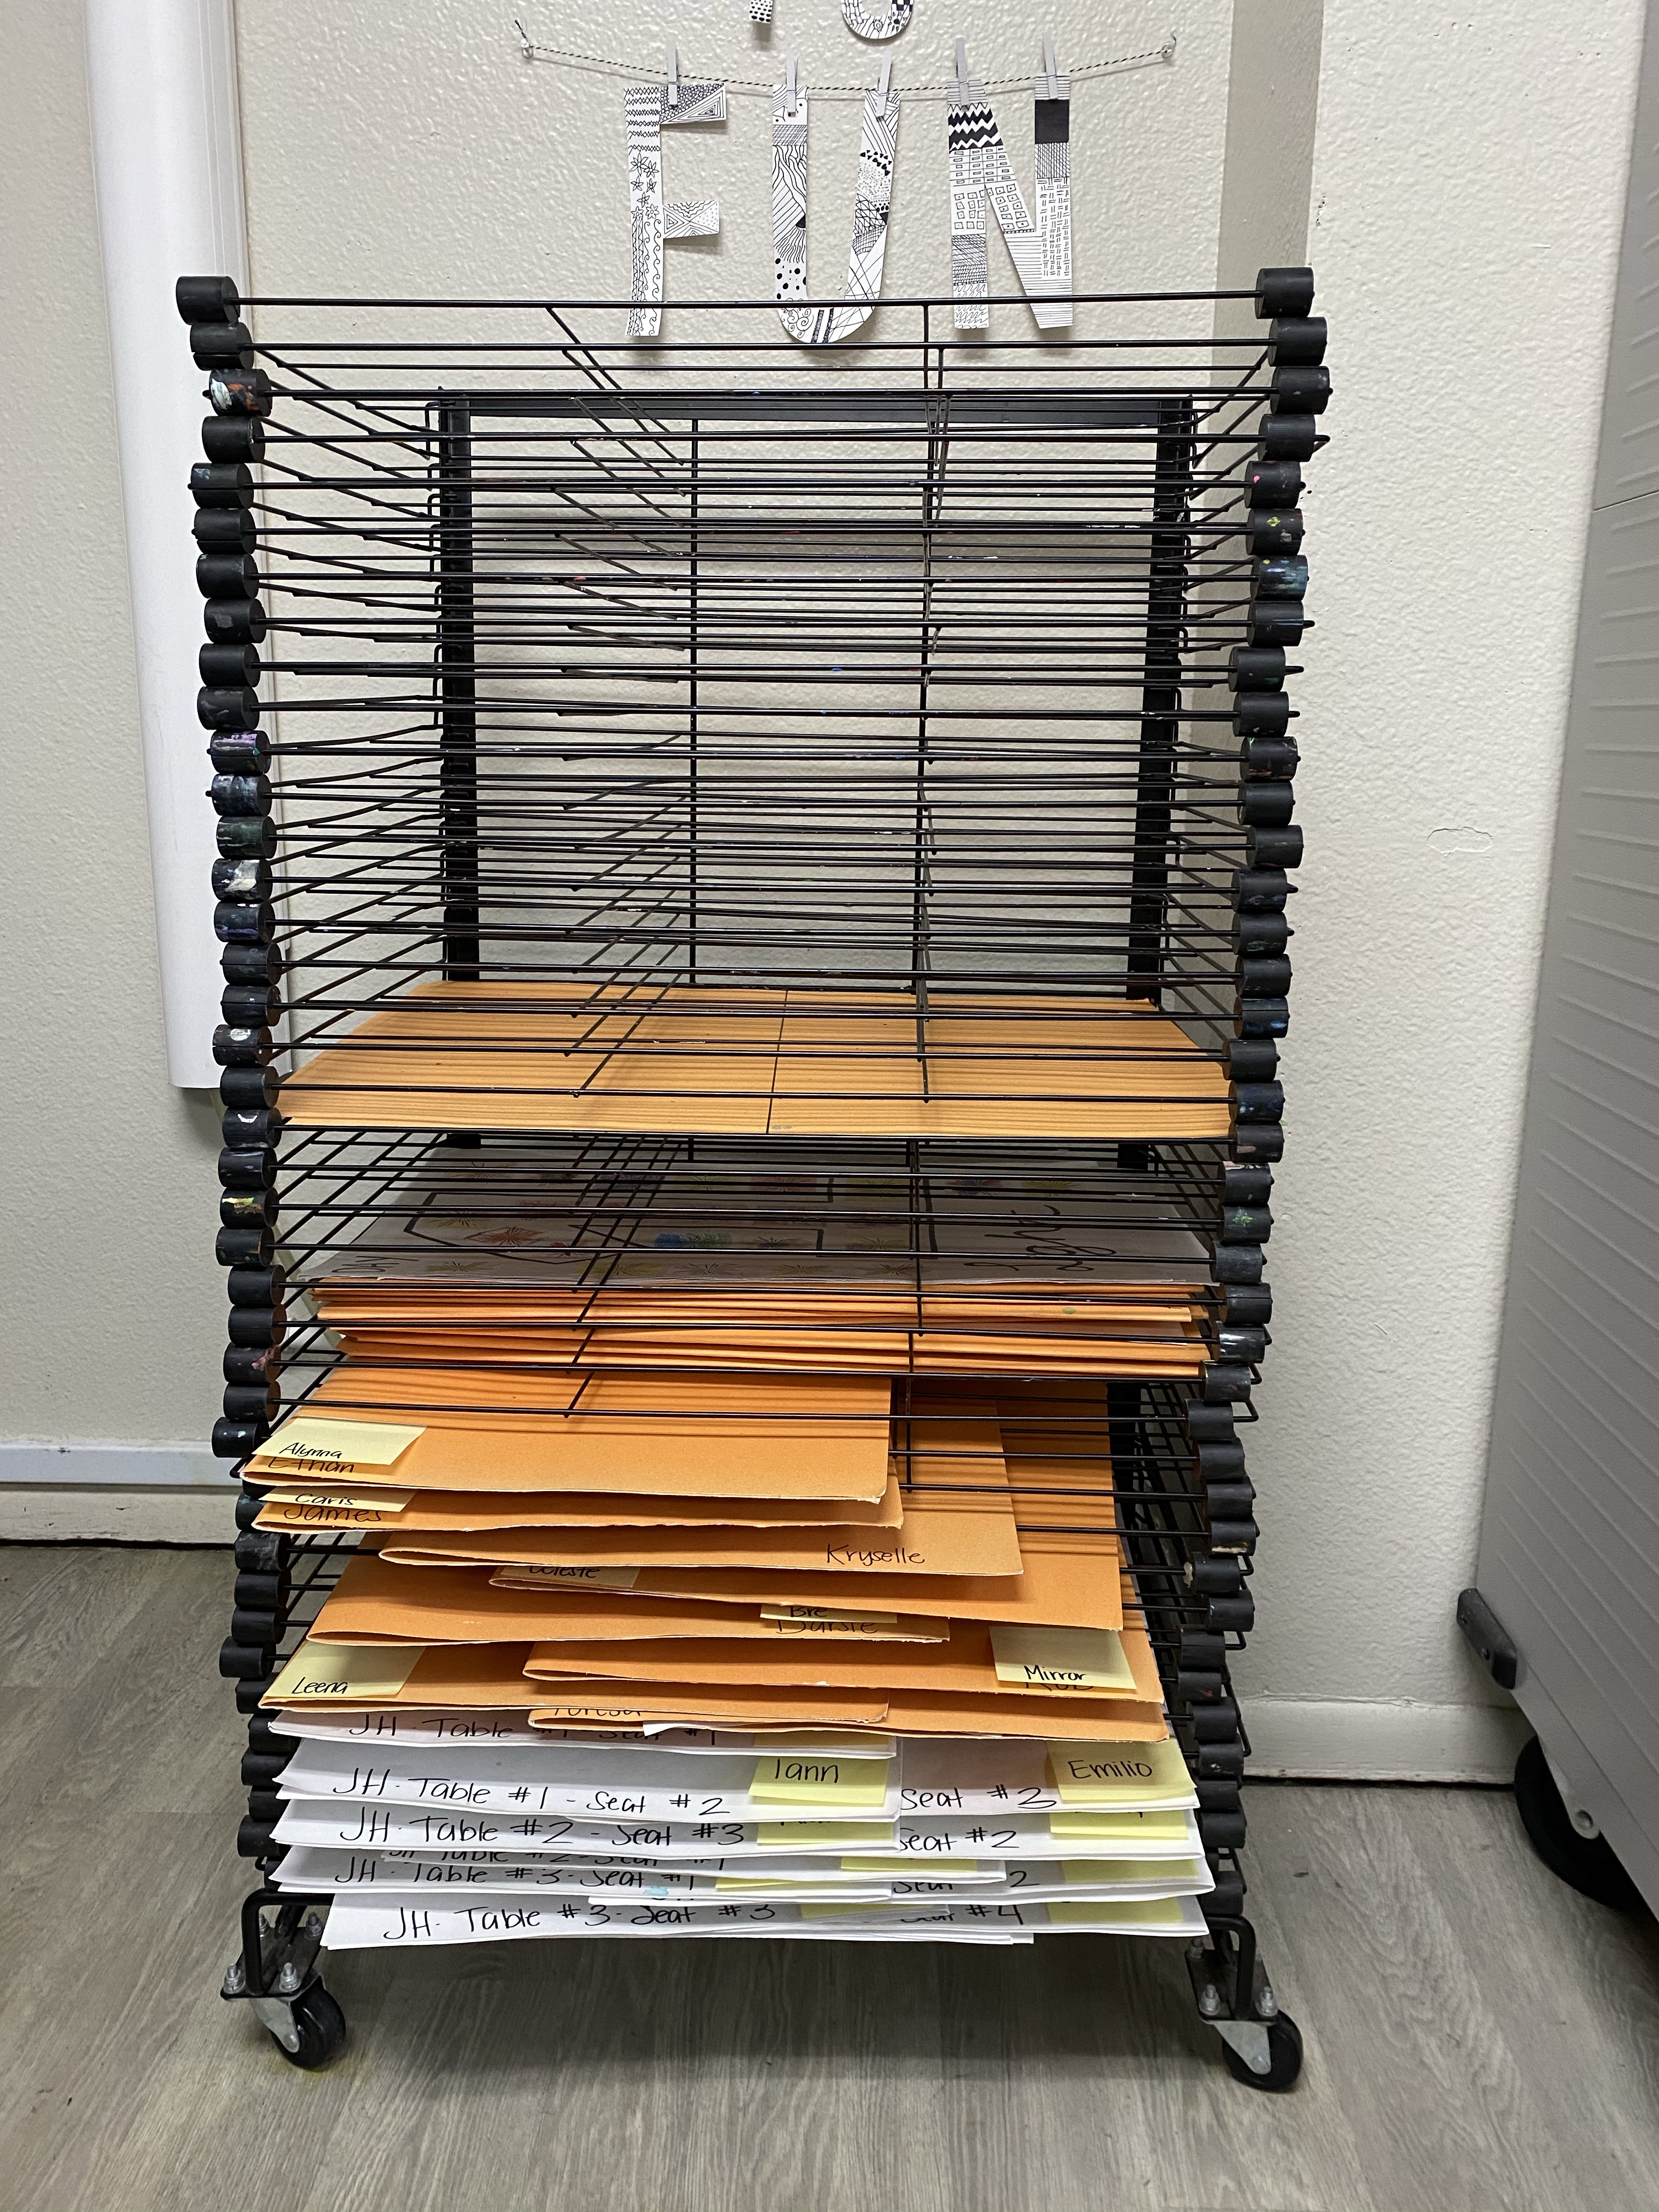
I love my drying rack. It has a continuous rotation of drying art throughout the week and I love seeing it full. I was lucky enough to walk into an art room with this tall, standing, and rolling drying rack. What a dream!
Although I was in love, I had three dilemmas with using such a large one.
1. Sometimes, for the littles, we only create on half a 9×12 art paper and they were always slipping through the spaces.
2. How do I teach students to put the artworks horizontal in order to maximize the space on each layer.
3. What was REALLY driving me crazy was the un-used bottom layers. Because let’s get real….WHO CAN LIFT ALL THOSE TOPS LAYERS to get to the bottom?! It would be way to heavy!!!
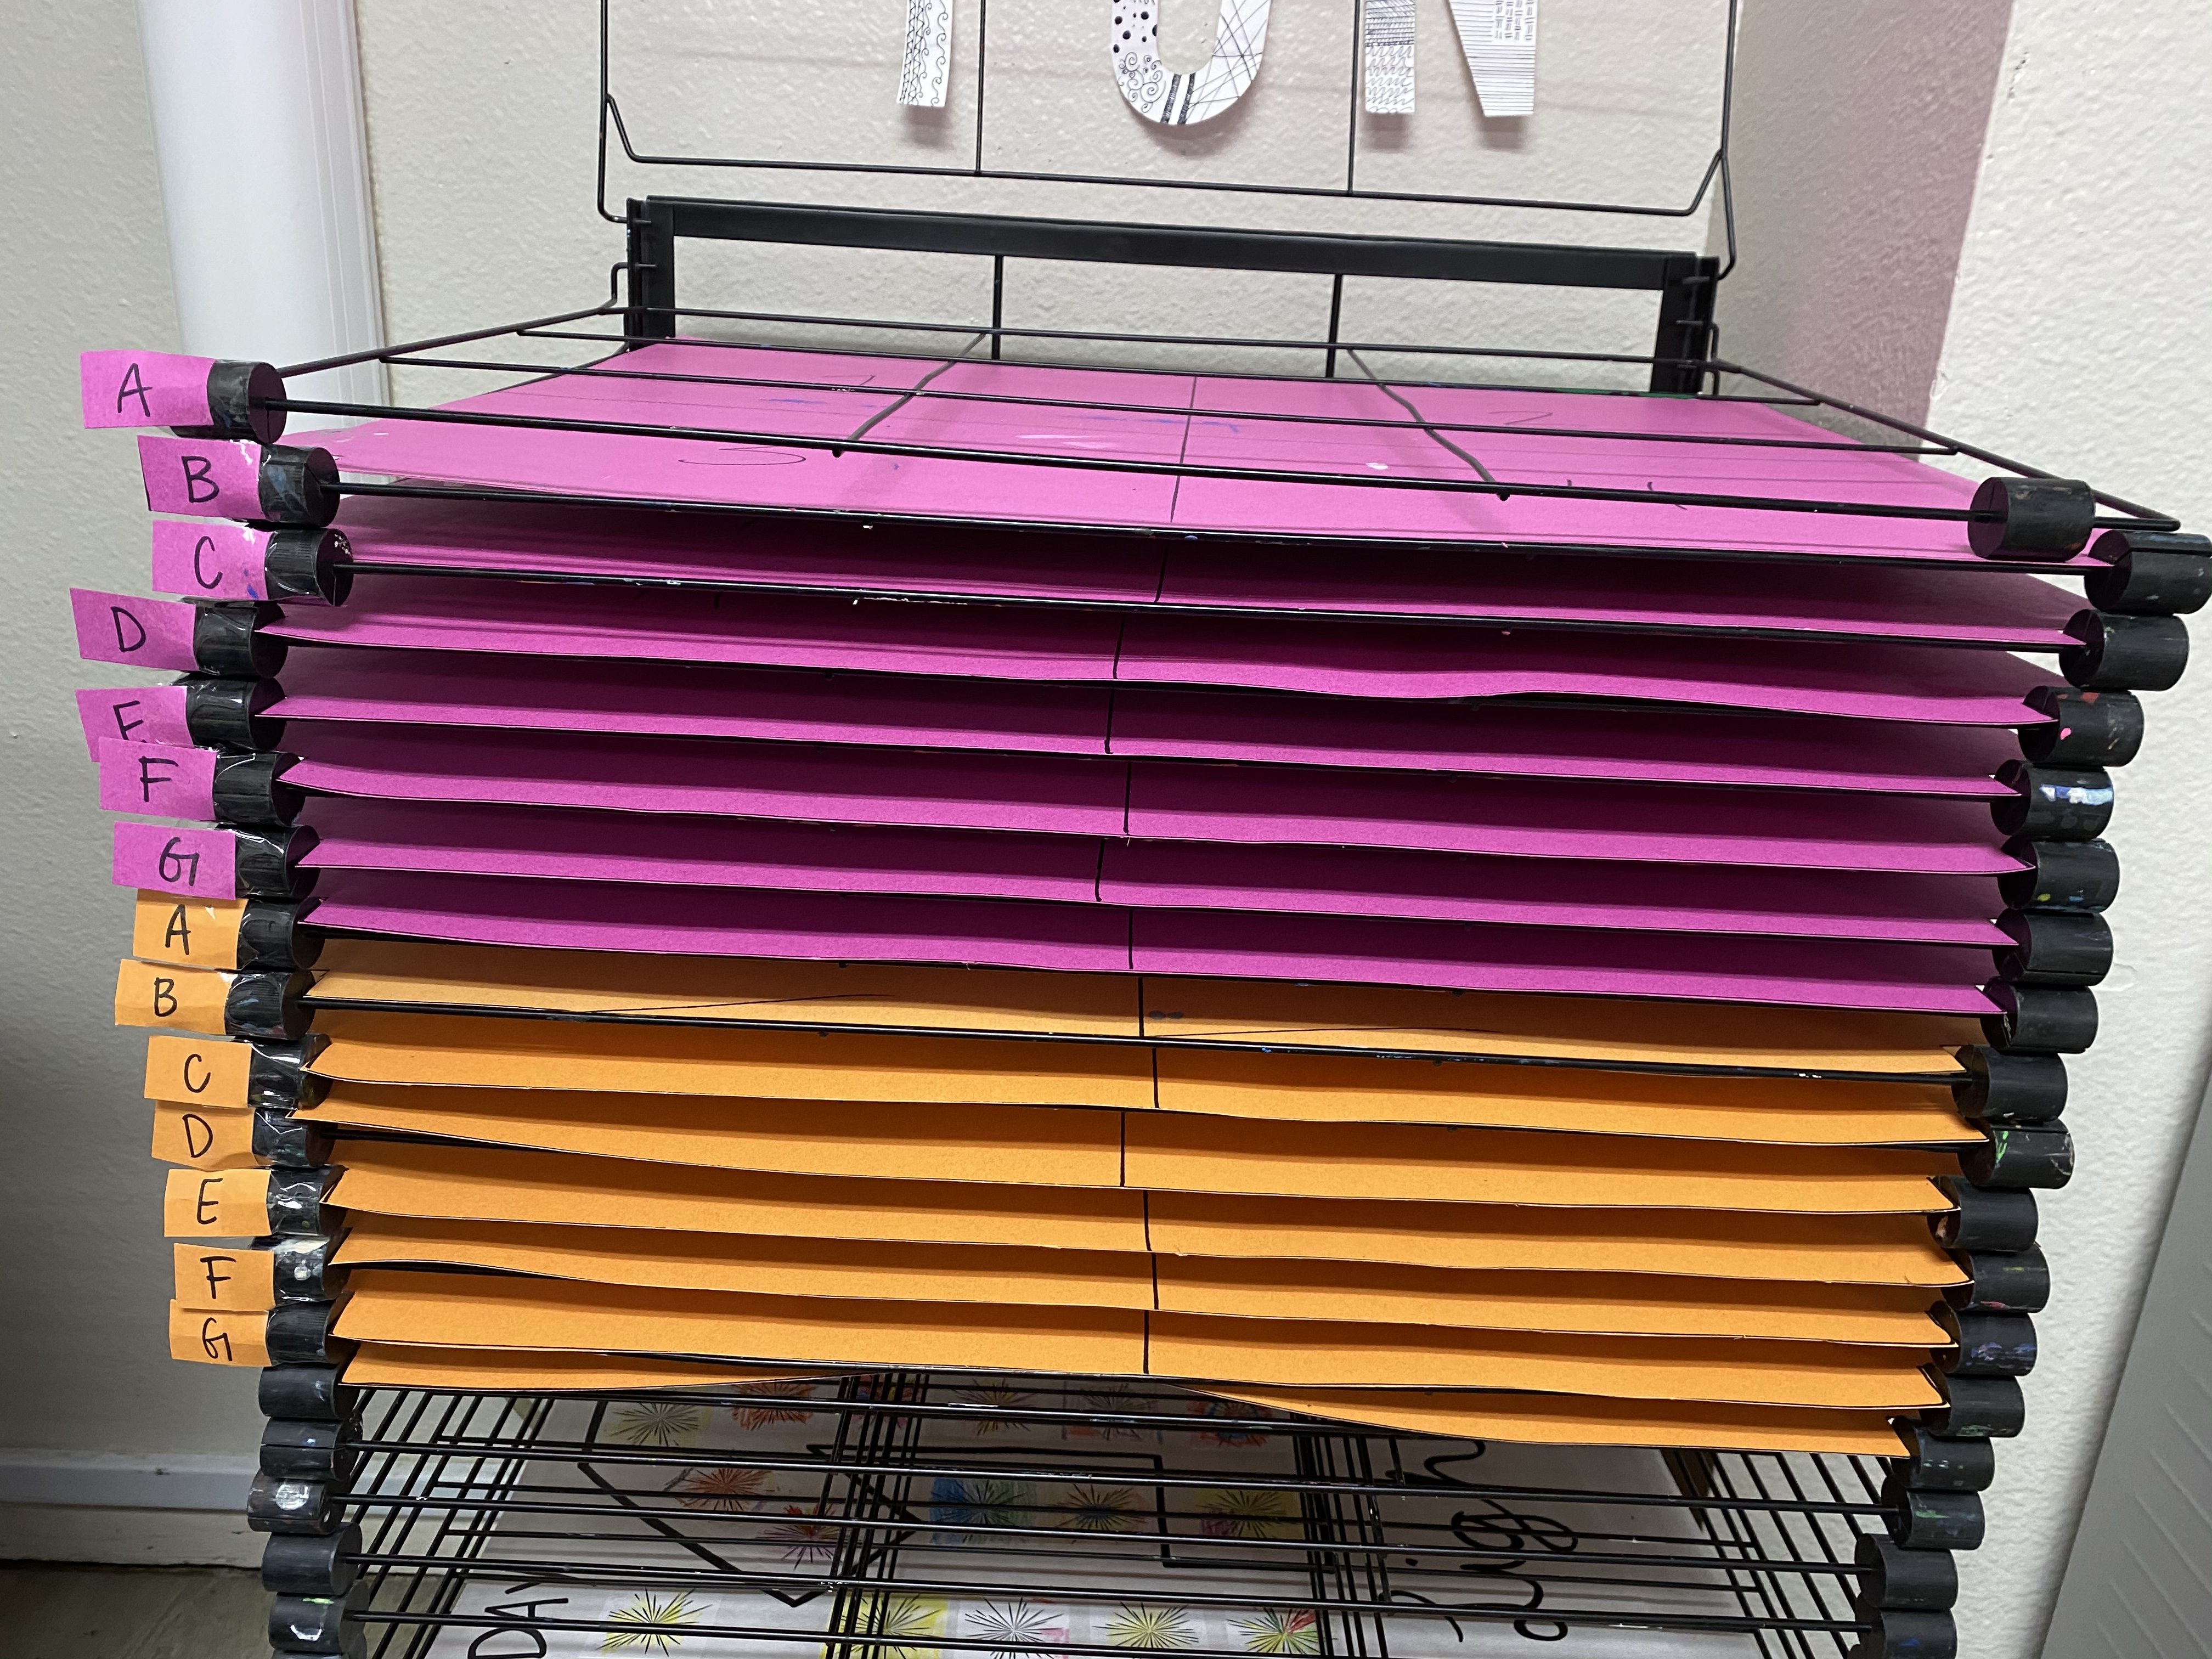
So, I’ve come up with solutions! All you need is some poster board and some tape 🙂
Dilemma #1:
Cut a poster board to fit onto the layer. Make sure to make indents for the rubber stoppers to fit. This also helps them stay in place! Tape the sides around metal bar. That way little artworks don’t fall through the spaces.

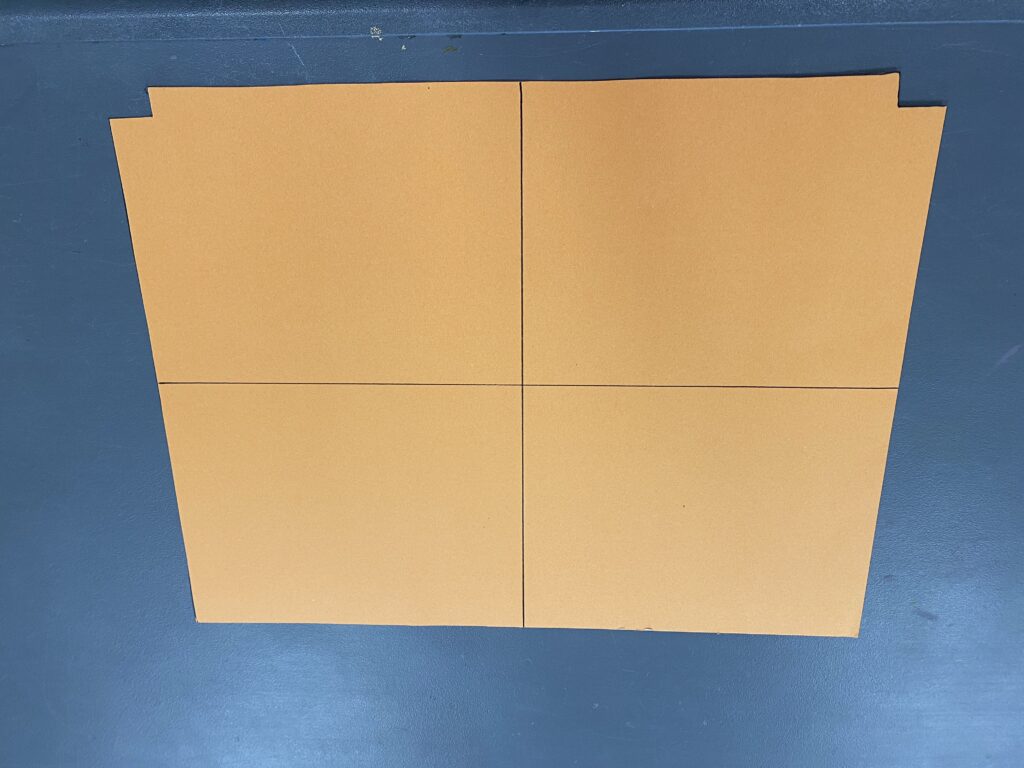
Dilemma #2:
Divide into fourths and label said poster board from Dilemma #1 so that students know where and how to put their wet artworks. I even added numbers to tell them EXACTLY where to put it 😉
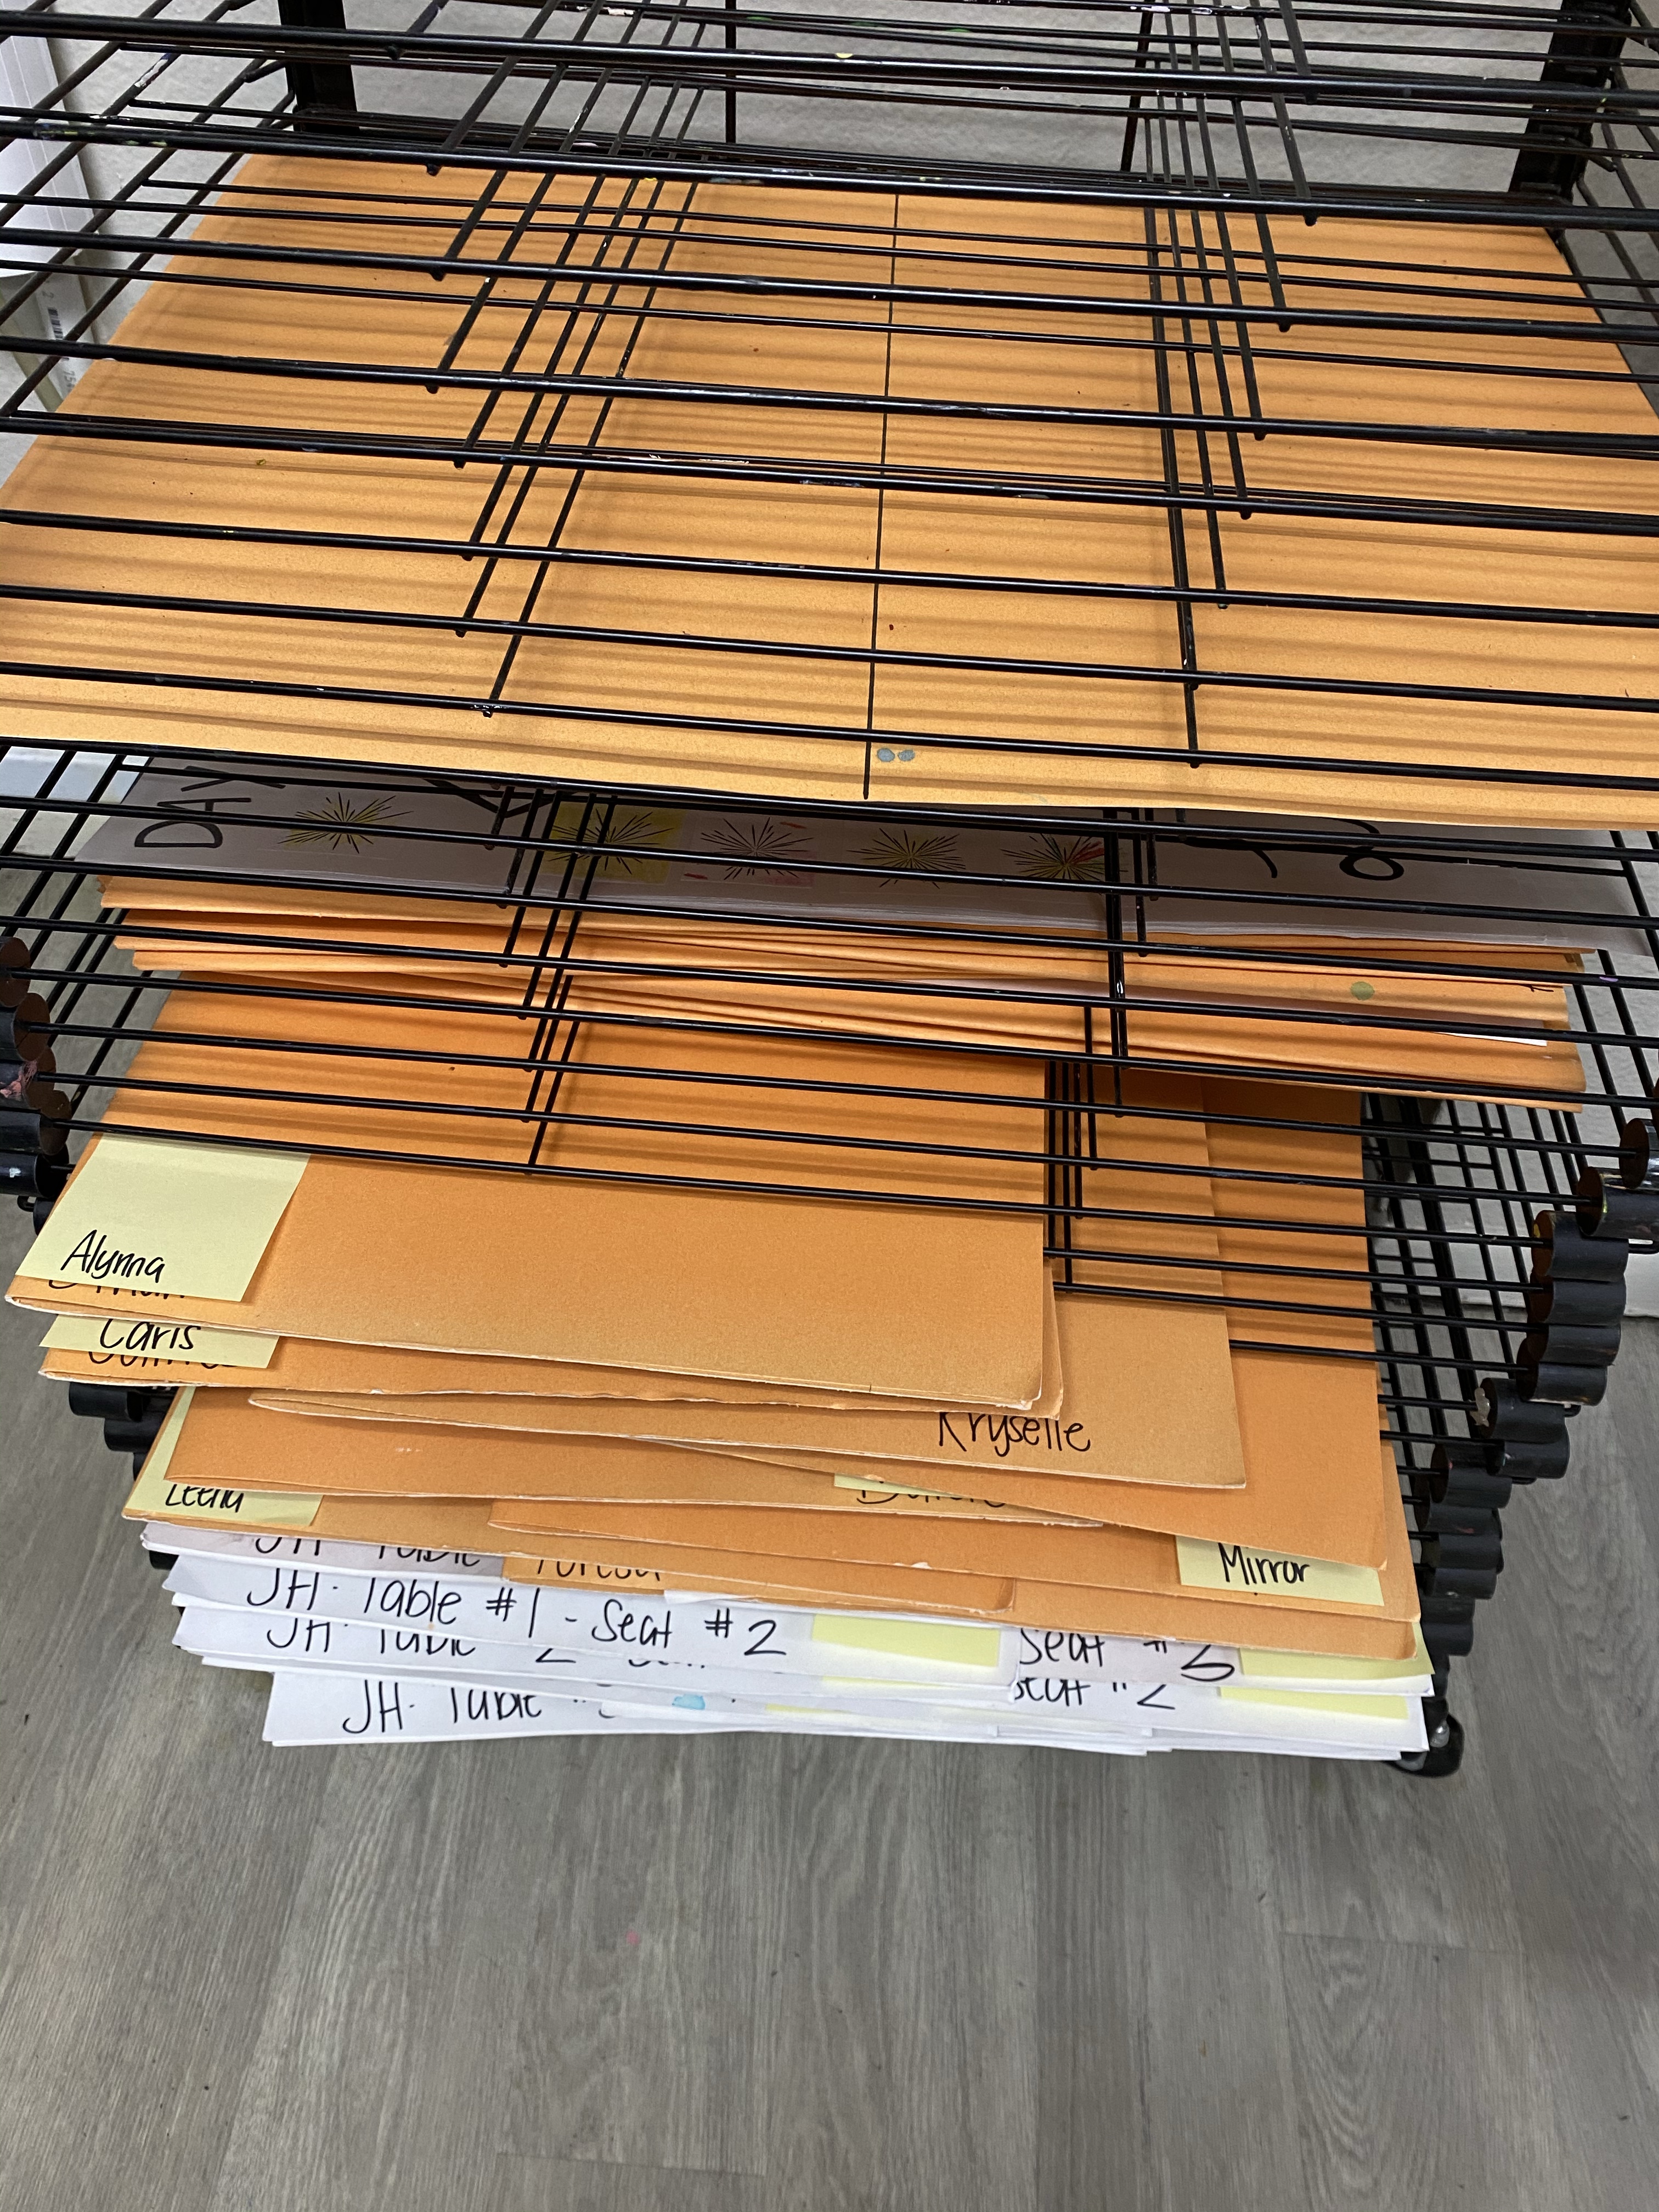
Dilemma #3:
Fold poster boards in half to become portfolios and slide into lower layers. Put a name on the edge so you can see the name without having to slide it out. All you have to do now is slide in the dry artwork into the student’s portfolio!
There you have it! Now every layer of your tall drying rack will be used, and THAT can make any art teacher, a happy art teacher! 🙂